Product review: Datacolor’s SpyderX Studio
A product review of Datacolor’s SpyderX Studio
• December 2019 issue
If you’re looking for a color management system that covers everything from image capture to print output and is affordable to boot, Datacolor’s SpyderX Studio promises the solution. The suite includes the Spyder Cube for image capture white balance and raw file conversion, the SpyderX Elite monitor calibrator, and Spyder Print for printer profiling—all the necessary tools for a completely color-managed workflow. I tried the Studio suite in my own studio.
Image capture
Why use a second-party white balance tool when digital cameras have sophisticated auto white balance? Because every scene you capture may not average out to a neutral gray, as camera white balance settings assume. Daylight color temperature changes throughout the day. Most any camera white balance will be too cool for the subject if it’s backlit and the camera corrects for a bright sunlit background. And in an area with the subject facing daylight windows but lit with room light of any type, forget auto white balance.
In these situations, the Spyder Cube is an excellent solution for determining white balance. Topped by a chrome ball to show specular highlights, the cube has two sides with light gray and white areas, a black lower area, and a black hole to show deep shadows.
Photograph the Spyder Cube at the subject’s position for each lighting setup or change of light. Set white balance by measuring the brighter gray area with the white balance tool in your imaging software, and set your exposure and contrast using the white and black areas. Highlight and shadow exposure warnings are fine for the specular highlight on the chrome ball and the black trap in the base.
It’s that simple, and I have carried and used one since the Spyder Cube was introduced years ago. Unfortunately the Spyder Cube included with the SpyderX Studio doesn’t include the carrying bag that the stand-alone does, so you’ll want to wrap it in something protective before you toss it into your camera bag for location work. But the device itself has never let me down as long as I remember to make a capture for each lighting situation.
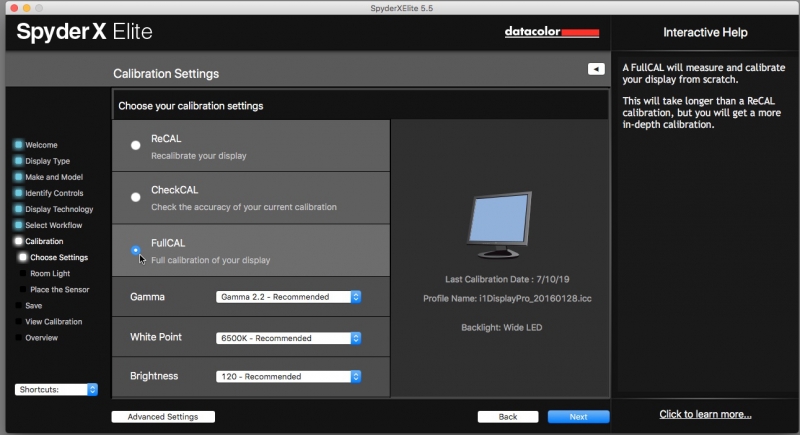
The first time you calibrate a monitor you must run the full calibration mode. This takes less than two minutes.
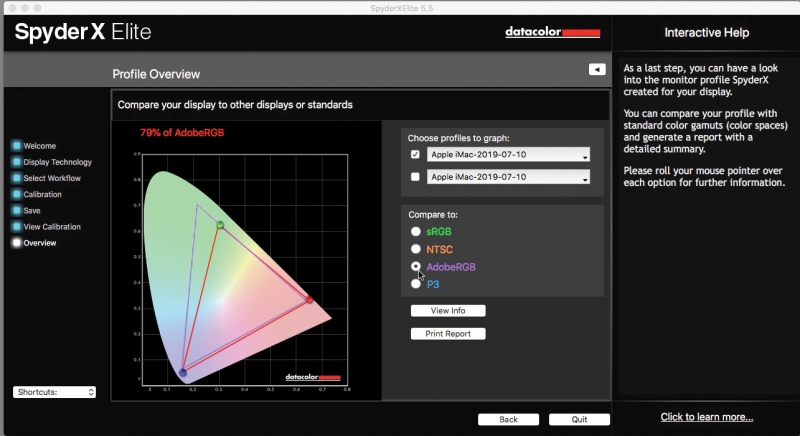
You have the option of displaying graphs of how your monitor's response compares to standard responses such as sRGB and AdobeRGB.
Monitor calibration
Accurate white balance ensures a neutral starting point for your image, but are the rest of the colors represented accurately on your monitor? Calibrating your monitor will make them as accurate as your monitor and ambient lighting conditions allow.
I calibrate my monitors with the X-Rite i1Photo Pro. The problem is, I don’t check it often enough because it takes about 20 minutes to run a full calibration. There’s a new i1Photo Pro 2 that I haven’t tried. I’d tested a Datacolor Spyder 5 but wasn’t satisfied with the result, so I wanted to see how the SpyderX Elite monitor calibrator measured up.
Although the Spyder 5 and SpyderX Elite look similar, the technology is different. The Spyder 5 had a grid; the Elite’s new lens-based color engine technology is said to feature higher light sensitivity and more advanced sensors.
The SpyderX Elite is controlled by software that’s downloaded from Datacolor and installed with the registration code in the box. You’ll need a different license code before proceeding. It seems a little old school, as does the look of the software interface itself. The software provides several different calibration options, from one-click calibration to a step-by-step assistant to an expert mode with unlimited calibration options.
I used the step-by-step calibration. The software correctly identified each monitor as well as each monitor’s adjustment controls. After confirming this and adding some additional information, the calibration began and was complete in less than two minutes.
After naming and saving the calibration, the software allows you to graph your monitor’s color space against known standards. It also shows other displays so you can better understand the color, brightness, contrast, gamut, tone response, and white point of your monitor. With SpyderX Elite, you can check screen brightness and color uniformity and display color accuracy.
The result was darn close to my previous calibration with the i1Photo Pro. The warm tones were warmer with the SpyderX Elite, colors overall were slightly more saturated, and flesh tones, with the additional warmth, looked slightly more pleasing. And the SpyderX Elite accomplished this in one-tenth the time.
You can leave the SpyderX Elite connected to your computer to track changing room light conditions if that’s a consideration, calibrate multiple displays that use different display technologies, calibrate projectors, calibrate side-by-side monitors, and create a target that’s sharable between desktop and laptop to match the displays as closely as possible. And you can soft proof images from within the software, although this is commonly available within your imaging software. The SpyderX Elite monitor calibrator is definitely a winner.
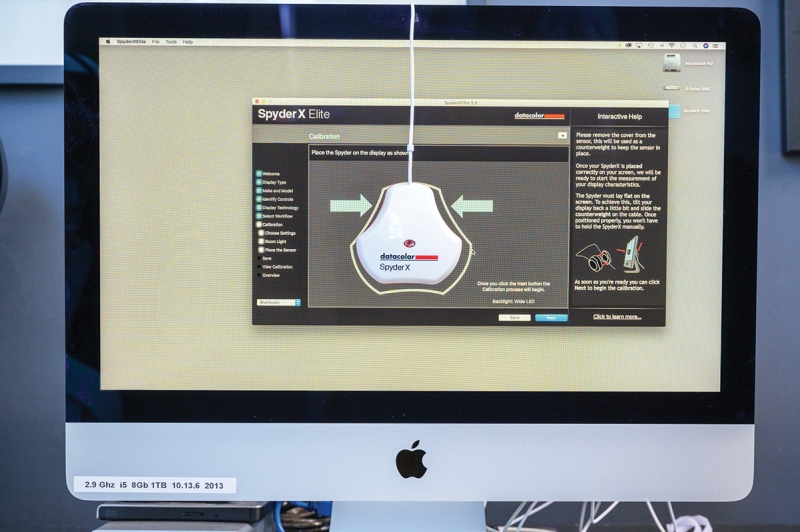
The SpyderX monitor calibration in position to begin monitor calibration.
Printer profiling
The i1Photo Pro offers printer profiling that I’ve found gives mixed results compared to the manufacturer-provided profiles of my Epson SureColor P7000. How does the Spyder Print compare?
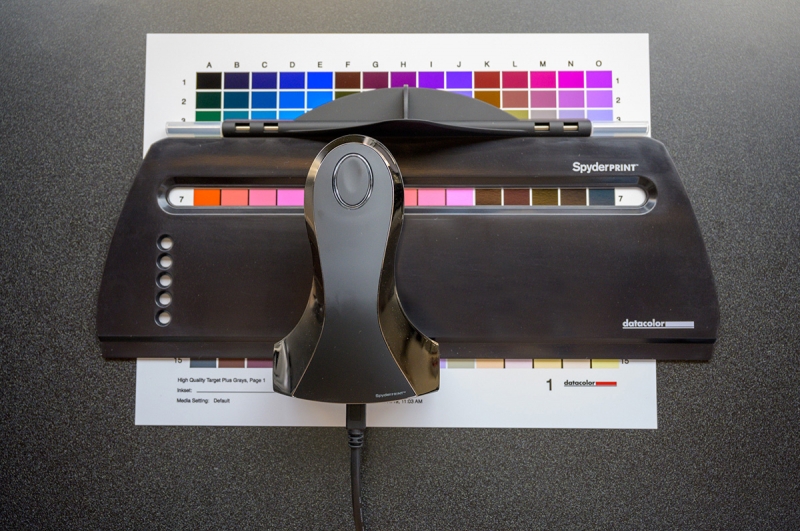
The setup for the Spyder Print profiles
The Spyder Print software downloads along with the monitor calibration software (and also has its dated look). But it’s well designed and navigable step-by-step. After entering information about your printer, ink, and paper, you have options to print targets that range from 225 patches to 729 patches plus extended grays. I chose the EZ High Quality Target plus Extended Grays, which generated 225 color patches and 338 gray patches.
The SpyderX Studio kit includes a patch reader that you maneuver along a guide over the patches. Therein lies the rub. Datacolor recommends taping down the sheet of patches vertically and pushing the patch reader along the guide away from you. This didn’t work for me. Too many false readings, indicated by beeps too close together or indicating I had finished a line of patches before I actually had.
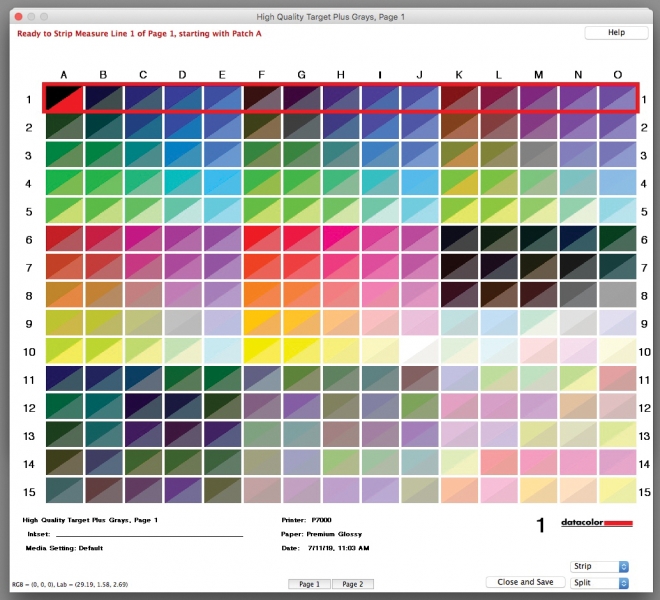
After several false starts I was finally able to complete the reading of the color and gray sheets. My readings (the areas beneath the diagonals) rarely came close to the calibration standards (the areas above the diagonals).
The Spyder Print software shows you on-screen the actual color of the patch and what your reading has seen for each patch. However, I found this virtually useless as the befores and afters never bore much correlation, even when done correctly. And there’s no indication of whether a patch was actually read; the beeps may or may not have indicated correct readings. I found it difficult to run the patch reader smoothly along the guide, eventually settling on moving it faster than recommended while counting to make sure I’d read all the patches. The i1Photo Pro system works more smoothly, but some of that may have to do with my greater experience with it.
I printed and read targets for Epson Premium Glossy 250, Premium Luster 260, Moab Colorado Fiber Satine 245, and Hahnemühle Bamboo 290. I found the before and after results to be subjective, varying among viewers. In each case, the Spyder Print profiles gave results that were warmer and more saturated than the manufacturer profile results. This was similar to the results I found comparing the monitor profile of the SpyderX Elite with that of the i1Photo Pro. This may indicate a look preferred by Datacolor rather than any shortcoming in the devices or software.
I felt the Epson profiles that came with the SureColor P7000 gave a more pleasing result than the profiles I generated with the Spyder Print. Some in the studio agreed, but others disagreed.
I preferred the results generated with the Spyder Print profiles for the Moab and Hahnemühle papers. Interestingly, I preferred the Epson profiles to the i1Photo profiles but use the i1Photo to profile non-Epson papers.
In any case, printer profiling is a worthy endeavor, and the 10 minutes it took to read each sheet was time well spent for lessons learned, if nothing else.
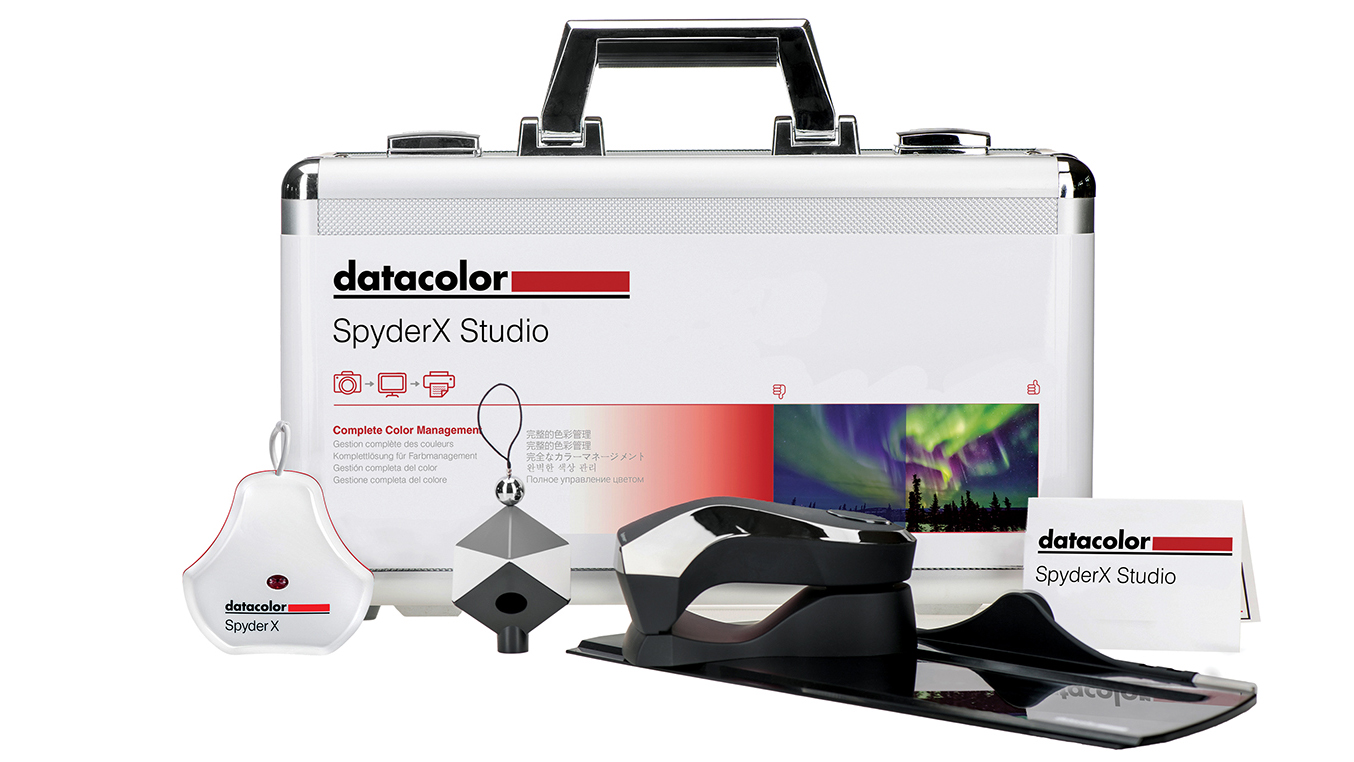
Overall, the SpyderX Studio is a valuable system if you care enough about your photography to desire accurate color from capture to print output. The system is presented in a handsome metal carrying case, though the equipment is meant to be out of the case and used almost constantly. The SpyderX Studio components, sans case, cost about $670 as sold individually: Spyder Cube, $55; SpyderX Elite, $270; Spyder Print, $345. The SpyderX Studio, with case, is available for about $500. The i1Photo Pro at $1,669 does not deliver three times the performance.
Stan Sholik is a writer and photographer in San Clemente, California.
Tags: gear