3 corrective posing and lighting tips for portraits
3 corrective lighting and posing tips that will make photography clients look their best in portraits
• November 2017 issue
Making sure your client looks their best in your photos is paramount. High-volume portrait photographer Andrew Faulds, M.Photog.Cr., CPP, relies on these three corrective lighting and posing tricks to create portraits his subjects love:
Pose the client’s best side.
Turn heavy-set subjects at an angle to the camera, which has a slimming effect. Shoot down from a slightly elevated angle, and have them lean in toward the camera so their hips are farther away and their head is closer. This emphasizes the face and minimizes the midsection.
Reverse the process for slim subjects who want to appear more substantial. Square their shoulders to the camera and photograph from a lower angle to make them appear larger.
Light the pose. Don’t pose the light.
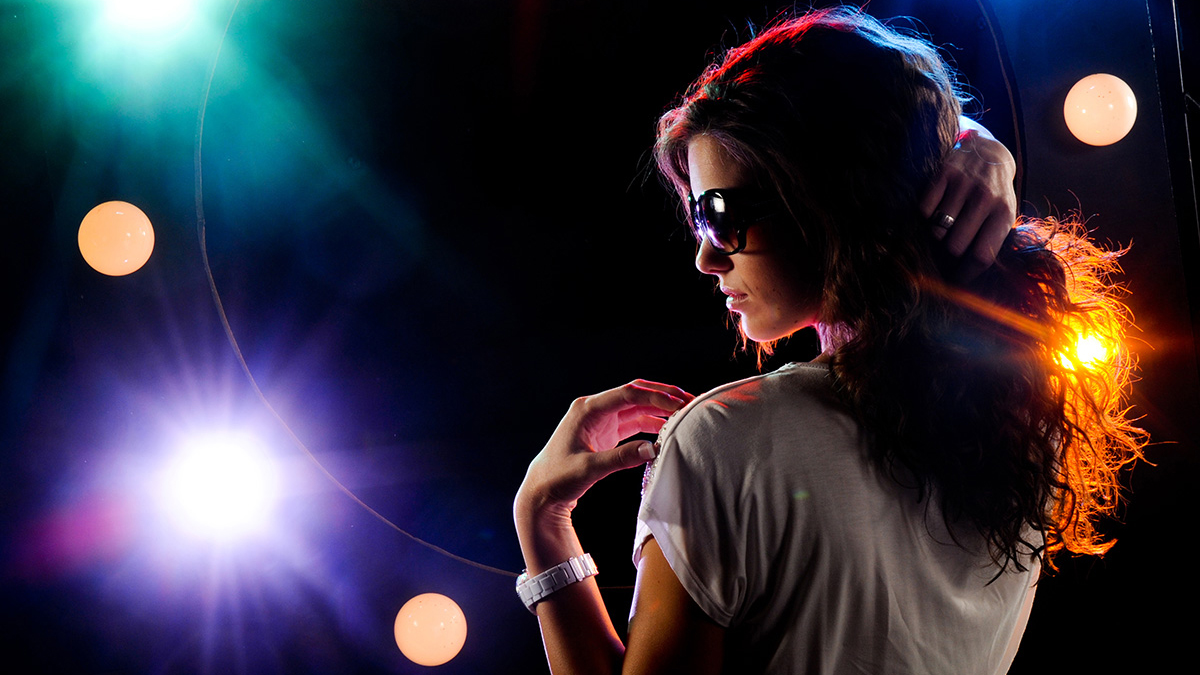
Match the lighting to the posing, not the other way around. If you’re posing a subject in a straight-on, traditional smile, opt for lighting that fits that mood, such as loop or butterfly lighting. If you’re going for a darker mood with dramatic posing, use high-contrast lighting and techniques such as Rembrandt or split light.
If you mix posing and lighting approaches—dramatic lighting with a happy pose—the effect is incongruous and the portrait appears off.
Light to the subject’s features.
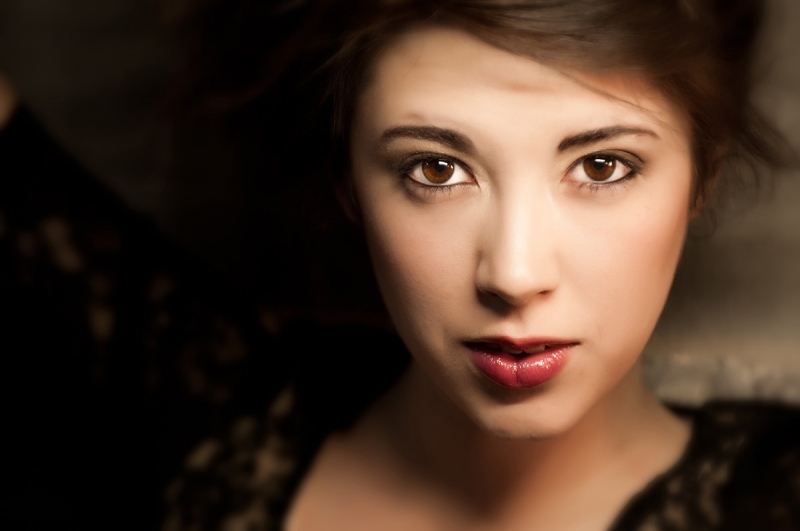
For a subject with a symmetrical face and high cheekbones, fashion lighting such as butterfly lighting will highlight the eyes, accentuate the cheekbones, and draw out the best features.
For an asymmetric subject, turn the face at an angle to downplay imperfections and use loop lighting to even out the light and give a softer appearance.
If the subject has a lot of acne, avoid split lighting or other setups that create texture. Opt for a flatter light that will even out the skin’s appearance.
Read more about Faulds' high-volume work, and take a look at a photo gallery of his best images.
Jeff Kent is the editor-at-large of Professional Photographer.
Tags: light modifiers posing